Victron SmartShunt Setup & Overview: Bluetooth Battery Monitoring
A battery monitor is one of the most valuable things you can add to any system — without one, you're flying blind on state of charge, runtime, and what's actually drawing from your bank. The Victron SmartShunt does all of that, over Bluetooth, without needing a dedicated screen. Wesley walks through both models, the hardware, and the full setup in the video above.
What the SmartShunt Does
The SmartShunt is a current-based battery monitor. It sits on the negative line of your battery bank and measures every amp going in and out — calculating state of charge (SoC), voltage, current, and estimated time remaining at the current load.
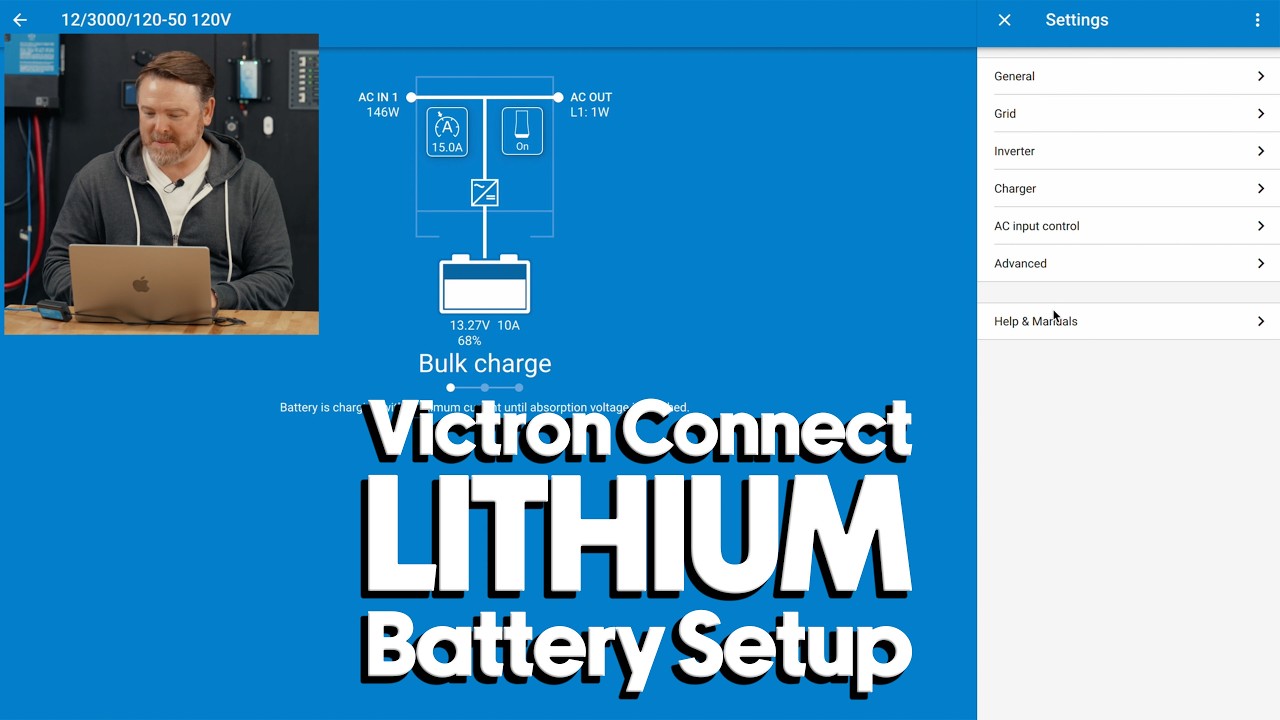
All of that data is accessible via Bluetooth through the VictronConnect app — no display required. Open the app, connect, and you get a live readout of your bank's status from your phone.
Beyond basic battery monitoring, the SmartShunt can also be configured as a dedicated DC meter — useful for isolating and measuring a specific load circuit like a refrigerator, a bilge pump, or inverter input. If you want to know exactly how much power a particular circuit is consuming over time, the SmartShunt can track it independently.
And for systems with a Cerbo GX, the SmartShunt connects via VE.Direct to feed battery data into the GX device — which means it shows up in the VRM remote monitoring portal along with everything else in the system.
Models and Sizes
The SmartShunt comes in two versions — Original and IP65 — both available in 300A, 500A, 1,000A, and 2,000A ratings. You choose the amperage based on the maximum continuous current that could pass through your system's negative line.
For most marine and RV systems: 500A covers the majority of installations. Size up to 1,000A for large lithium banks with high-current inverters.
Original SmartShunt
The standard model has a supply voltage range of 6.5V to 70V — covering 12V, 24V, and 48V systems — and draws less than 1mA from the battery, so it won't meaningfully drain the bank over time.
It includes a multi-purpose AUX input that can be wired for one of three functions:
- Starter battery voltage monitoring — useful on boats and RVs where a secondary start battery needs to be watched alongside the house bank
- Midpoint voltage monitoring — for large series/parallel battery banks where individual cell group imbalances matter
- Temperature sensing — connects a temperature sensor to incorporate battery temp into the charge calculations
IP65 SmartShunt
Same internals, different enclosure. The IP65 model adds a fully sealed, dustproof and waterproof housing — mandatory for installations in marine bilges, engine rooms, or any location with regular moisture exposure. Instead of open screw terminals, the IP65 uses captive molded wiring leads for the power, AUX, and VE.Direct connections.
If the shunt is going anywhere near water, spray, or condensation, the IP65 is the right choice.
Physical Layout
Looking at a standard 500A unit, the key points:
The shunt bar itself has two bolted ends clearly labeled:
- Battery Minus — connects directly to the main battery bank's negative terminal, and only there
- System Minus — connects to the rest of the system: ground busbar, chassis ground, and all electrical loads
Everything leaving or entering the battery on the negative side passes through the shunt — that's how it measures current in and out.
V_BAT input: A short fused wire runs from the positive terminal to power the SmartShunt and measure main bank voltage. Victron includes this wire in the box.
AUX input: The auxiliary terminal for temperature sensor or secondary battery voltage, depending on how you configure it.
VE.Direct port: The data output port for connecting to a Cerbo GX or other compatible GX device.
Setup in VictronConnect
Once the SmartShunt is wired and powered, setup takes about five minutes via the VictronConnect app:
Step 1 — Connect via Bluetooth. Open VictronConnect, let it scan for nearby devices, and select your SmartShunt from the list (match the serial number on the unit).
Step 2 — Change the security PIN. The app will prompt you immediately — change the factory default to a personal PIN before doing anything else.
Step 3 — Check firmware. Go to Settings → Product Info and check for firmware updates. If one is available, install it before making any configuration changes.
Step 4 — Enter battery capacity. In the battery settings menu, input your bank's total capacity in amp-hours — this is the number the SoC calculations are based on, so accuracy matters. Use the actual usable capacity your manufacturer specifies, not a rounded estimate.
Step 5 — Sync to 100%. Fully charge your battery bank to its maximum voltage, then tap the “Sync to 100%” button in the app. This establishes the accurate baseline the SmartShunt uses for all future SoC tracking. Without this step, the readings will drift.
Installation Tips
Mount it close to the battery. The shorter the run between the Battery Minus terminal and the negative post, the more accurate the current measurement. Install it as close to the bank as physically practical.
Bluetooth range. The SmartShunt's built-in Bluetooth covers 10–15 meters depending on what's in the way. In a boat hull with fiberglass bulkheads, range is typically on the lower end of that. Plan your mounting location with app accessibility in mind.
Want a physical display instead? The SmartShunt is purpose-built for phone-based monitoring. If your setup doesn't have a Cerbo GX and you'd prefer a permanently mounted display screen rather than pulling out your phone, look at the Victron BMV battery monitor series instead — same monitoring capability with a built-in round gauge display.
Browse the full battery monitoring collection at Blue Marine — we carry the complete SmartShunt lineup in Original and IP65 versions. If you have questions about sizing or integrating a SmartShunt with a Cerbo GX and VRM, schedule a free consultation with our team.
Related reading:
How to Monitor Your System Remotely with Victron VRM
LiFePO4 vs AGM Marine Battery: Which Should You Buy?
Alternator Charging with Lithium Batteries: What You Need to Know